Robotis Servos
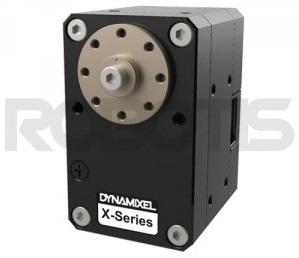
Robotis Dynamixel servos are high-end “smart actuators” featuring built in motion control hardware that can be controlled by ArduPilot once connected to the autopilot’s serial port.
Robotis servos using the “DYNAMIXEL Protocol 2.0” are supported. The XM430-W350-T in particular is known to work correctly with ArduPilot.
Note
Support for these servos is available in Copter-4.0, Plane-3.10 and Rover-3.5 (or higher)
Where to Buy
U2D2 is also recommended to allow easy configuration of the servos (online manual )
Configuring the Servos
Before initial use the ID for each servo needs to be set using the DYNAMIXEL Wizard configuration tool.
DYNAMIXEL Wizard 2.0 is the latest DYNAMIXEL configuration tool supporting Windows / Linux / Mac OSX.
Visit ROBOTIS’ international download center to download and install DYNAMIXEL Wizard 2.0”
Attach the U2D2 to the servos as described in the online manual
Start the R+ Manager, connect to the appropriate COM port and set each servo’s ID to a value from 1 to 16. The number chosen for each servo should correspond to the servo number used to configure and control the servo. For example if the ID is set to “9”, the SERVO9_MIN, SERVO9_MAX, SERVO9_FUNCTION, etc parameters will be used to configure the servo.
Connecting and Configuring
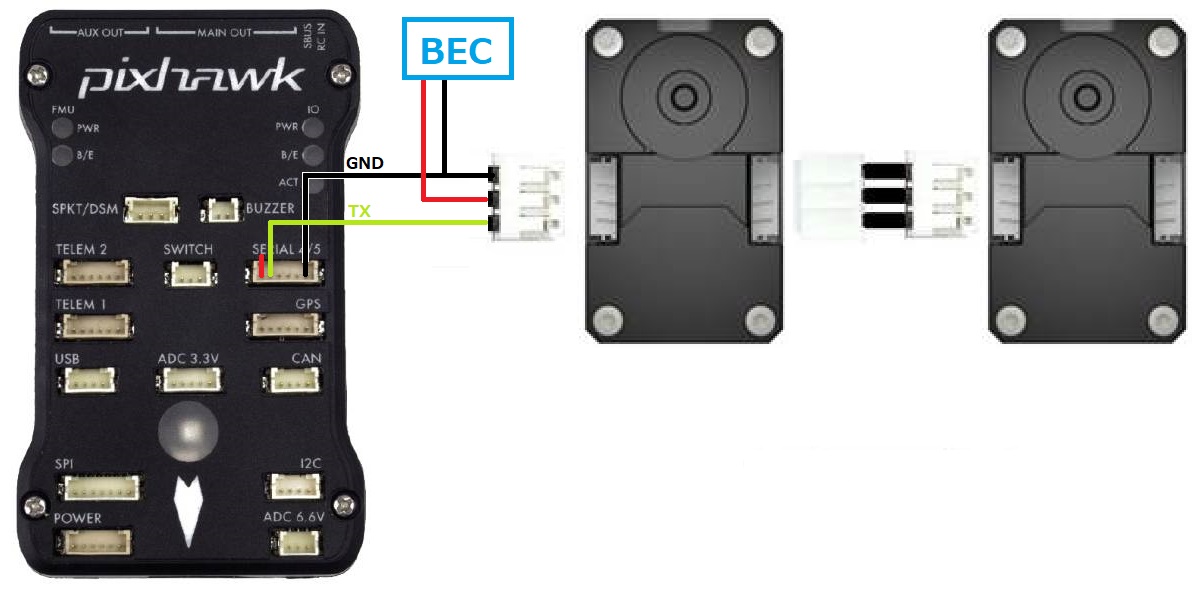
Connect one of the servos to any serial port on the autopilot. In this example SERIAL4 is used but any serial port should work
Additional servos should be connected to the first by daisy chaining them as shown above
Set the following parameters on the autopilot
SERIAL4_PROTOCOL = 19 (“RobotisServo”)
SERIAL4_BAUD = 57 (57600 baud)
SERIAL4_OPTIONS = 4 to enable half-duplex mode
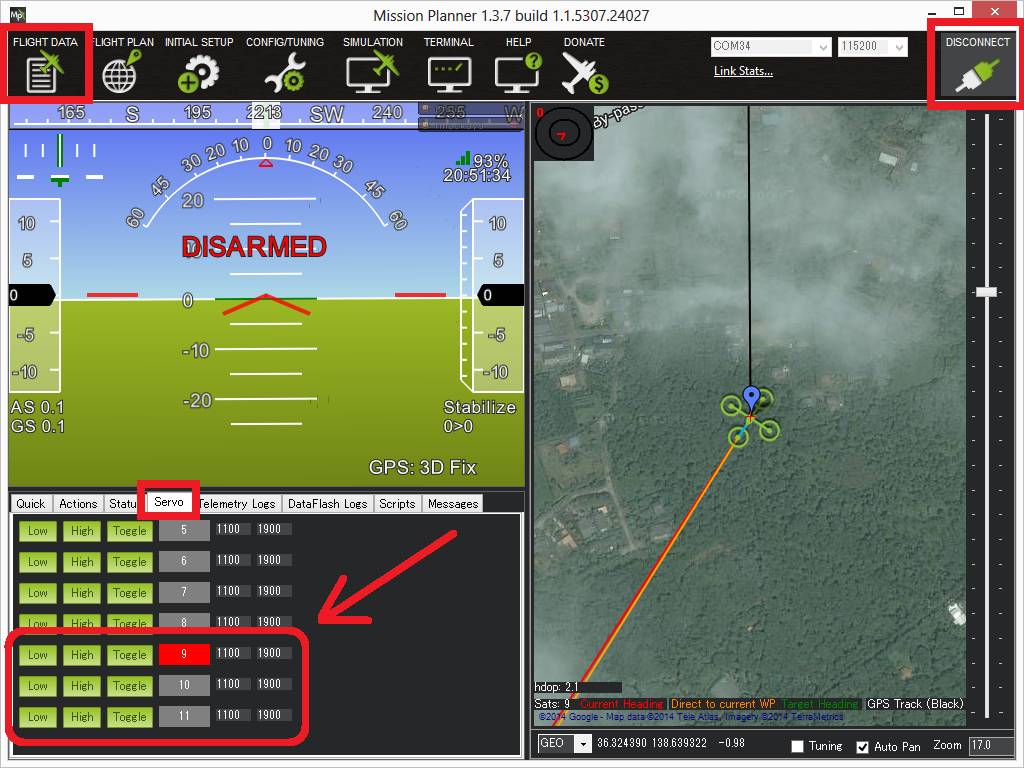
Testing with the Mission Planner
The mission planner’s Flight Data screen includes a “Servo” tab on the bottom right that can be used to test that the servos are moving correctly.